
Tutorial
What Color is your world?
Step 1
On a normal day, make sure to have a camera of a phone with decent photo quality with you. Pick a color to photograph throughout the day, found on different objects like a car, traffic signs, breakfast, anything at all.
Step 2
Upload these images onto your computer
Step 3
Pick a song that correlates with the color you chose. It can be said in the lyrics, described through different words, certain objects that are the color you chose. For example for the color blue I chose the song “I’m Blue” by Eiffel 64.
Step 4
Use an editing tool to upload these images or if you took a short film segment of any of the colors. IMOVIE is a good tool to use or something similar.
Step 5
For IMOVIE – go to File-Import for any film segments shot, if uploading a photo on the right hand side in the middle, there is a tool bar of a camera, itunes logo, a T and transition slides. Click on the camera to upload all images.
Step 6
Once the images are in place, I made a transitional phase for each photo such as “dissolve” or “open door”, to do this click on the box that has two sideways triangles facing each other. There are multiple options to choose from, pick whichever ones are the most interesting to you.
Step 7
The next step is to click on the music button and choose the song that you wish to choose for this assignment. Drag the song and place it in the “project” portion of IMOVIE. To fade in or fade out click on the star located on the green bar, shown in the images below.
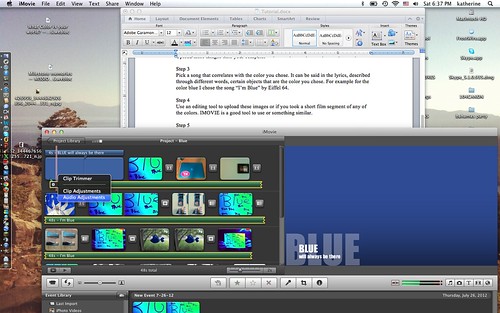
Bluescreen1 © by katherinekd101
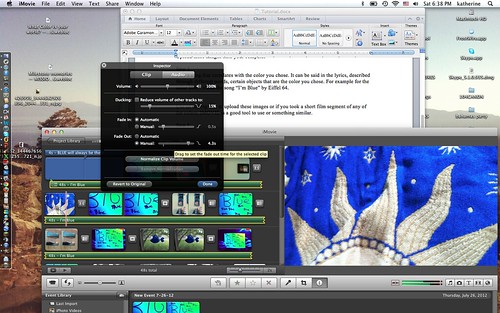
Bluescreen2 © by katherinekd101
Step 8
An additional edit I made was putting filters on each image. Below are snapshots of how this is done.
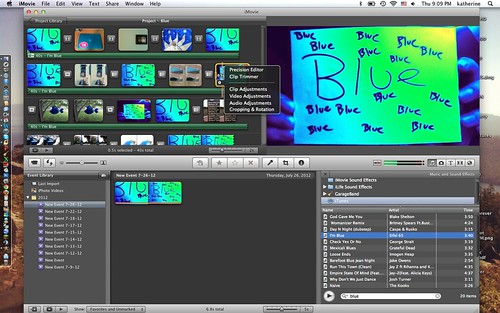
BlueScreen3 © by katherinekd101
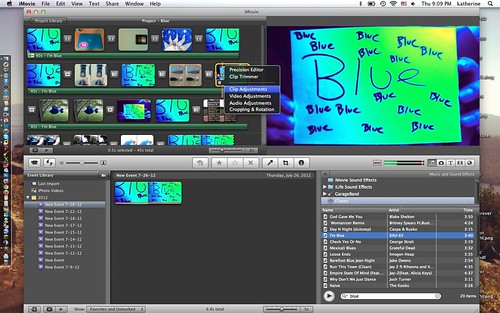
BlueScreen4 © by katherinekd101
Bluescreen2 © by katherinekd101
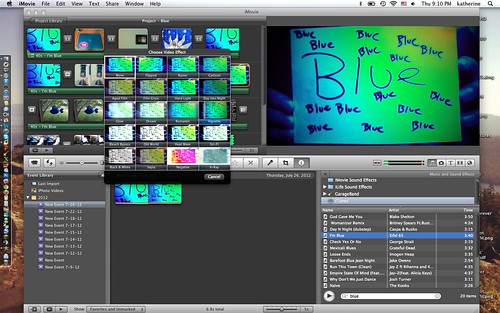
BlueScreen1 © by katherinekd101
Step 9
The final step is to export the finished product. Go to share then press export movie.
Step 10
Upload the film onto YouTube and tag it with the appropriate tagging

Add a comment