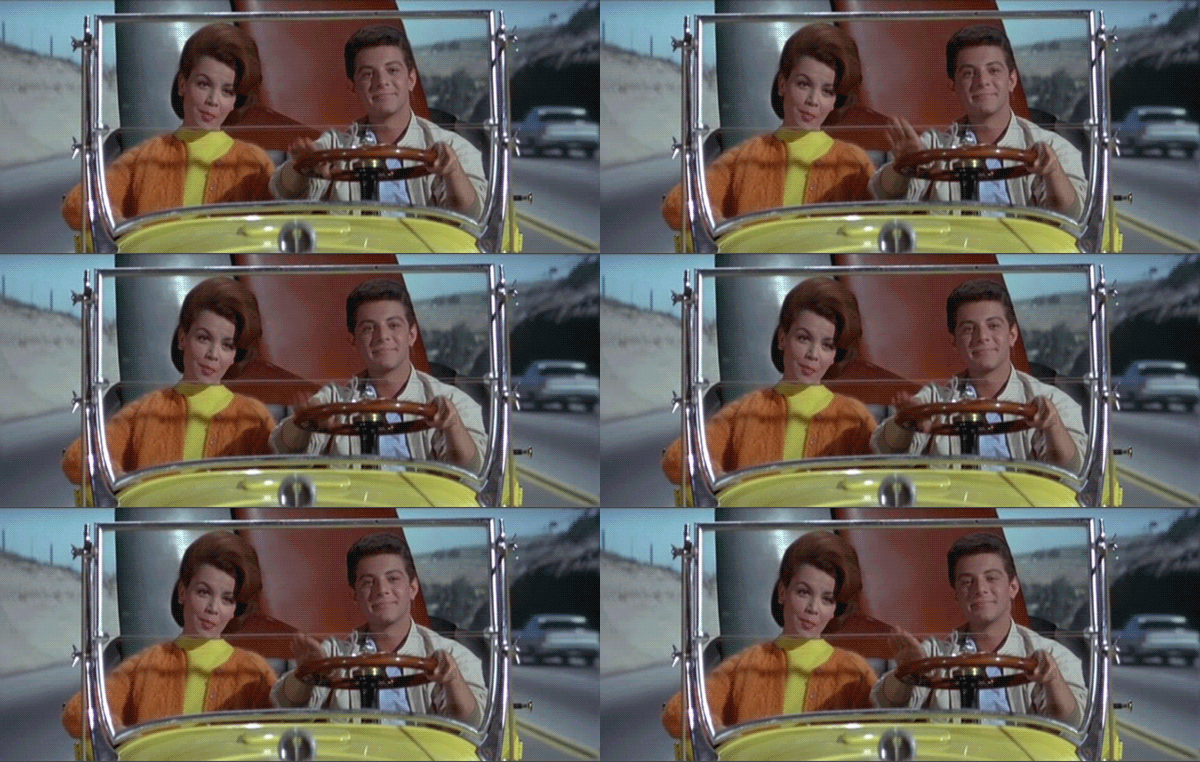
I’ve been fairly obsessed with animated gifs lately. My apologies. It was really If We Don’t, Remember Me that had me stuck in this loop. This person churns out such really interesting visuals, I couldn’t rest until I got something fairly close. I feel like the image above, while not perfect, is close enough to let things rest for a while1.
Initially, I just thought IWDRM was just a master of choosing just the right clip. Now, that part can’t be discounted but there’s a lot of other things that go on to improve the final product. While fairly simple, I’ll try to detail what I did and how I eventually learned to make it more economical time wise. I’m not a PS guy, so there may be even better ways. If you know them, let me know.
This is tilted towards CS4 but I imagine the concepts will make sense if you use other versions or other software.
- Clip your video down in Quicktime or something like that. You can edit in the PS import tool but it’s awkward.
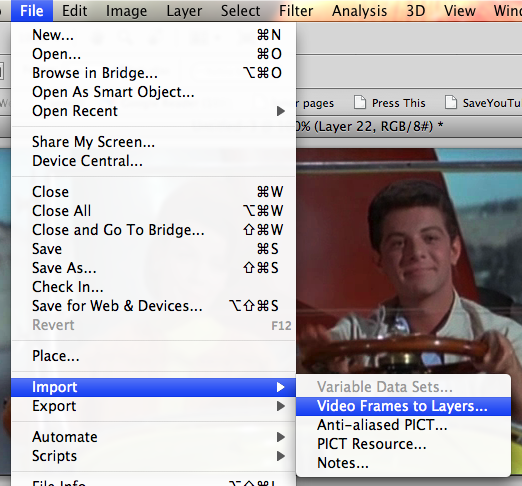
- Import the video files to layers.

- The animation window will be at the bottom. Edit it until you’ve got a decent cycle going. The first frame will be the still portion of the image so choose one that is clear. Keep in mind you can change the speed of the frames. Sometimes slowing it down helps.

- With the second frame selected in the animation window. You’ll see that there is the eye icon on the corresponding frame in the Layers menu. Click on the first layer in the place where they eye should be. You should now see two eyes, indicating both layers are active. It should look like the image below.
- Now on the second layer, erase everything you want to be motionless. You’re going to have to repeat the process above for every frame in the animation and every related layer so it pays to keep the numbers down. It’s also much easier to use the lasso tool and select the portions you’d like to erase. If you hit delete instead of cut or some other option, the selection stays and you can pretty rapidly go through the steps where you activate the “eye” on the layer and then just hit delete again.
You can see the start of that in the image below. I eventually selected everything except Ricky’s (?) head and his drumming arm.

- You can preview the animation by hitting the space bar at any time. This helps me immensely.
- Make sure when you go to delete, that you’ve selected the right layer in the layers panel or nothing will happen.
1 The gif is from some beach something something video. I was just randomly watching old movies on Netflix instant watch to make capture quality better and easier.


Add a comment