
 This image is a derivative work based on Chinese New Year by Brian Yap, available under a Creative Commons Attribution Non-Commercial license. Here is what the original looked like.
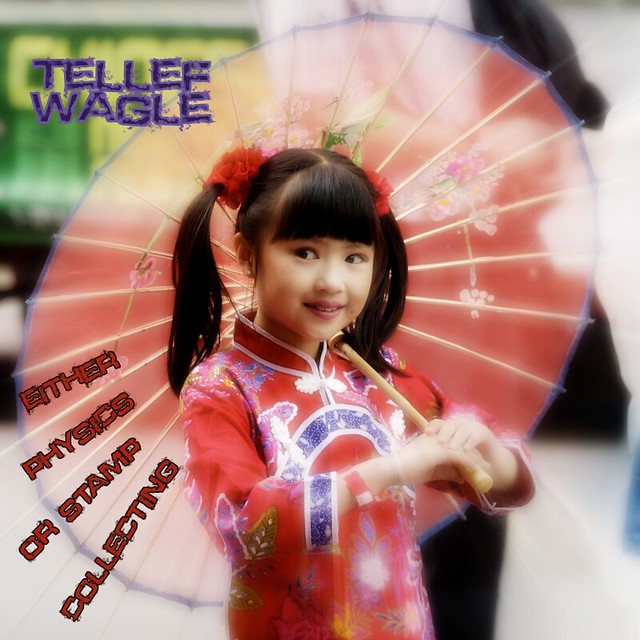
My random wiki page gave me “Tellef Wagle” as the band name. The quote I got was All science is either physics or stamp collecting.
Ernest Rutherford (1871 – 1937), in J. B. Birks “Rutherford at Manchester” (1962)
Instead of using the random interestingness Flickr search that the assignment post suggested, I used FlickrCC, because it generates a random search of Flickr Creative Commons licensed images when you load the page. I chose the third image from that search per the assignment, and followed its link back to Flickr to get the full size image and attribution information.
I did a few image manipulations to the original photo in Photoshop:
I made three copies of the image to three different layers. The bottom layer got a Diffuse Glow filter.
For the middle layer I applied a radial blur. But I didn’t want to blur the whole image, I wanted the blur to radiate out from an oval approximating the shape of the umbrella, so the girl’s face would not blur, but the umbrella spokes would blur and extend toward the edges of the picture. To make that happen I first used the shape tool to create an oval and rotated it so that it more or less matched the shape of the umbrella. Then I CONTROL+clicked on the shape to load a selection of that shape, feathered the oval by 80 pixels or so, and inverted the selection. Then I hid the oval layer, selected my middle image layer, and applied a radial blur with zoom. Then I set the opacity of the middle layer to 50% so it would allow some of the bottom layer to show through – it just looks prettier that way.
For the top image I applied a gaussian blur of 10 pixels and set the blend mode to soft light. This softened the image but allows detail from the two bottom layers to show through.
Once I was happy with the image I worked on the text. The font I chose is called Defused. I sampled purple from the girl’s sleeve and used that to write the album name. Then I sampled lighter purple to make the stroke. I used my CONTROL+click trick on the text layer to select just those pixels, then used Edit > Stroke and applied a 3 pixel stroke using the lighter purple color. I like!
By the way I picked purple to contrast against the yellow and green color up there in the corner.
For the album title I added the text in four stages so that I got four separate layers. I rotated each one using transform and moved them where I wanted them. I sampled red from the girl’s clothing for the text color. I liked the stroke effect so much that I did it again for the album title, but this time I sampled near-black from the girl’s hair.
For completely random elements to start with I think it came together in a nice way. This was a fun assignment.

Add a comment