
Design Assignment 625: Go to a happier place!
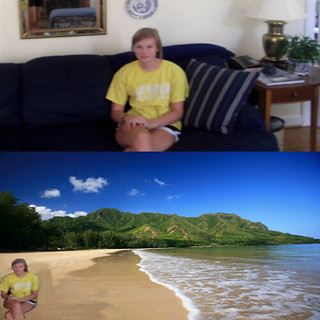
Ever wanted to be somewhere else? Take a photo of yourself in your current location, crop your body out of the photo and paste on an image where you would prefer to be. Put together the two photos for a before and after effect!
For this assignment, which I created, I started off by daydreaming about being at the beach. This sparked my imagination, surprisingly enough. I decided I would have my sister take a picture of me sitting on the couch doing my DS106 homework. Then, I found a photo of a beach on Flickr under a Creative Commons License.
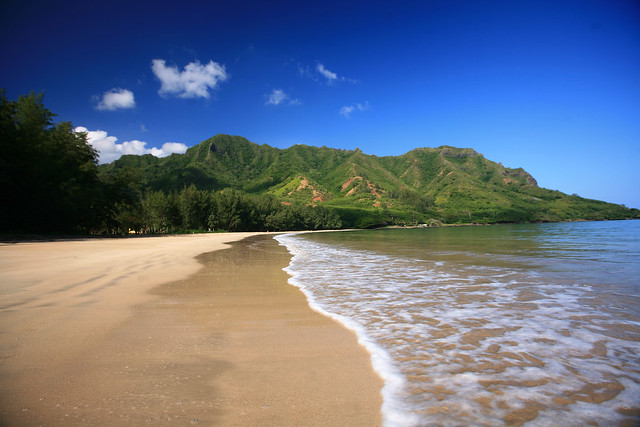
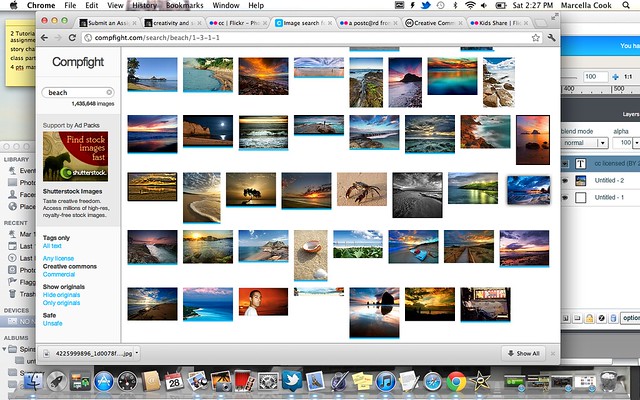
I used my knowledge from an assignment I had previously done, “Support Creative Commons With a Poster.” I searched Flickr for beach photos under a Creative Commons License using the website Compfight (be sure to select the Creative Commons search option).
I also learned how to give attribution to the source image from the “Support Creative Commons With a Poster” assignment.
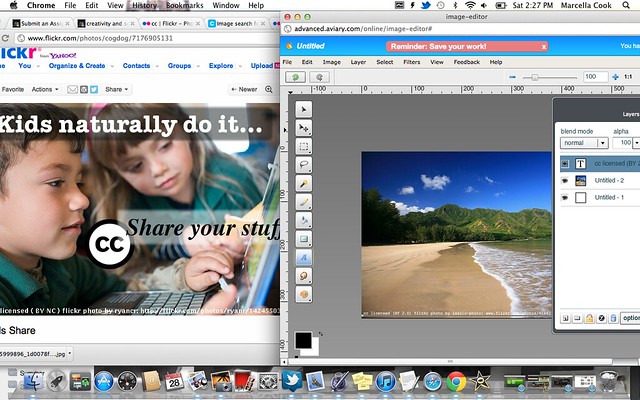
I used my favorite photo editing site, Aviary. I used the Image Editor. I started off by adding text to the bottom of the photo giving attribution to the source image. You can use the template below for attribution to flickr photos (the italics is where you should insert the specific information for the particular photo):
cc licensed (BY license) flickr photo by flickr username: link to photo on flickr
I cropped the original photo of myself on my Mac’s photo editing device (iPhoto) so I was just the focal point. I saved it to my desktop. On Aviary Image Editor, I chose “File” “Import Image” and imported the image. Make sure you select “layer” from the drop-down layer menu on the panel on the right.
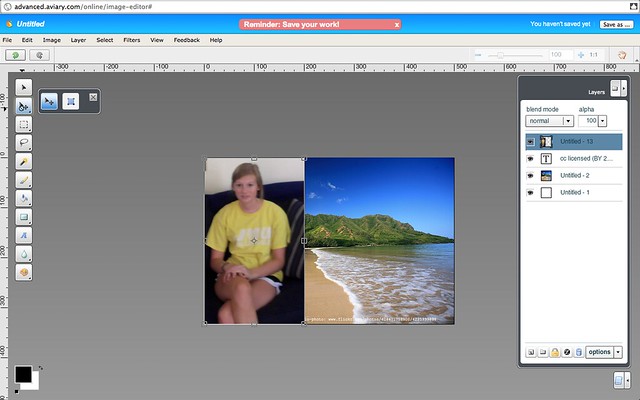
I chose the resize option and made the photo smaller.
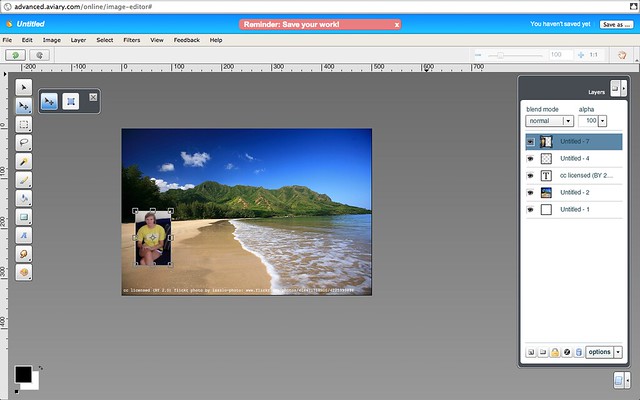
This is where it gets tricky. I chose the Magic Wand tool from the left side bar. I held the “Shift” key and edited out the remainder of the photo of myself (so my couch wouldn’t be in the background). I then “Cut” the selection.

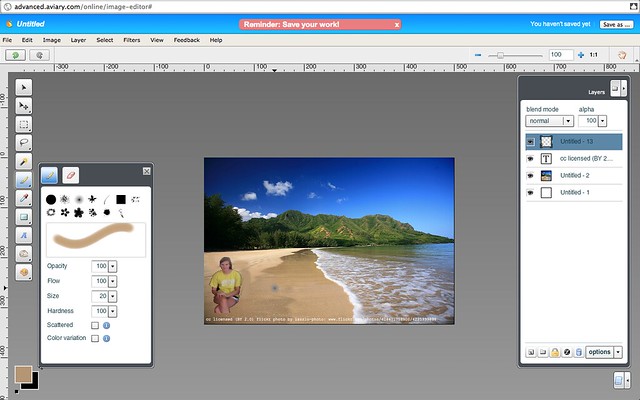
Then I needed to edit out the stripes left over from the pillow on my couch. I chose the dropper tool to match with the sand. Then I chose the paint brush tool and painted over the stripes.
On the right option panel, at the bottom, second from the left, there is a plain folder. I clicked that to group all my layers.
Then, I selected “File” “Save As” and saved the file as a .JPG to my desktop.
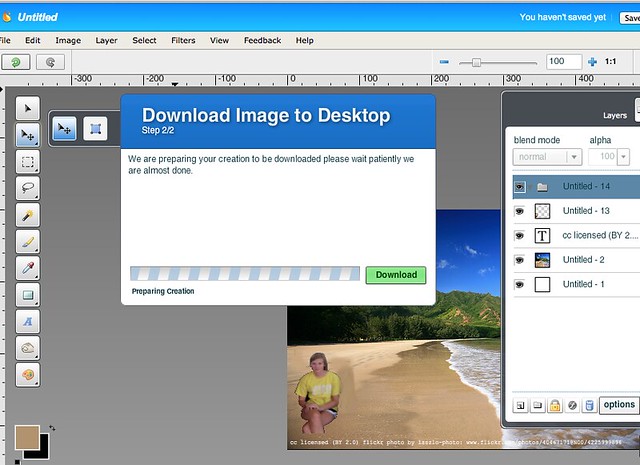
I opened a new Aviary file (from scratch) and imported the original photo of me sitting on my couch to the canvas and resized it as I liked. Below, I imported the edited photo of me on the beach. I saved it to my Aviary account and uploaded to Flickr.
Hope you enjoy this assignment. Good luck!

Add a comment