
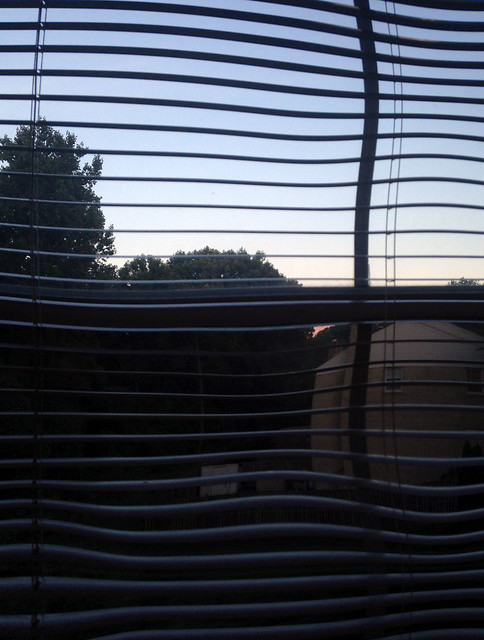
This a simple tutorial on how to create the wavy effect seen here:
For this assignment. After you have watched the video that the assignment directs you to watch you will probably see something with the wavy effect above. This tutorial will focus on creating that effect, if you see something else, this tutorial will not really help you. This tutorial is also geared for Photoshop users, if you do not have a copy of Photoshop, this tutorial will again not be of any use to you. Let’s begin!
1. Open your photo in Photoshop:
 You will then see something like this:

Now we want to start adding the effect, so we will open up the liquefy tool:

This will bring us to this screen:

Notice on the left of the screen the Pucker tool is selected, that will be one of the tools we use a lot. It kind of sucks in the image at the point you select, like follows:

The next tool we will use a lot is the Bulge tool, it causes the opposite effect of the Pucker tool.

For example:

Using these tools all over the image you will produce the desired effect! Some tips, change the size of the brush often to make the effect more subtle! That’s really all there is to it! Good luck!
[contact-form]

Add a comment