
I was able to come up with one more assignment idea, Draw it! This one asks the students to take a picture, whether it be there or one from the internet, and get some experience with Photoshop by converting it into an image that look drawn.
I actually got the idea for this one from a previosu assignment that I did – Da vinchi Invents the Kitchen Sink. When I worked on that assignment, it required me to figure out how to convert my chosen images into a format that looked hand drawn, which took me a little bit to understand how to do. That being the case, I decided to provide a simple tutorial on how to do this.
Tutorial for Photoshop:
1. Import the file you want to work with. (File > Open)
2. Now we want to make the image black and white. (Image > Image > Adjustments > Desaturate)
3. Create a duplicate layer ( Layer > Duplicate Layer)
4. Invert colors. (Image > Adjustments > Invert)
5. Change the blending mode to Color Dodge. The layers pallet should be in the bottom right and will have a drop down menu (mine is originally on “Normal”)
6. At this point, the majority of the image will be white with a few black spots (maybe). Dont worry. Go to Filter > Gaussian Blur. From here you can just slide the Pixels bar to make it lighter or darker based on your personal preference.
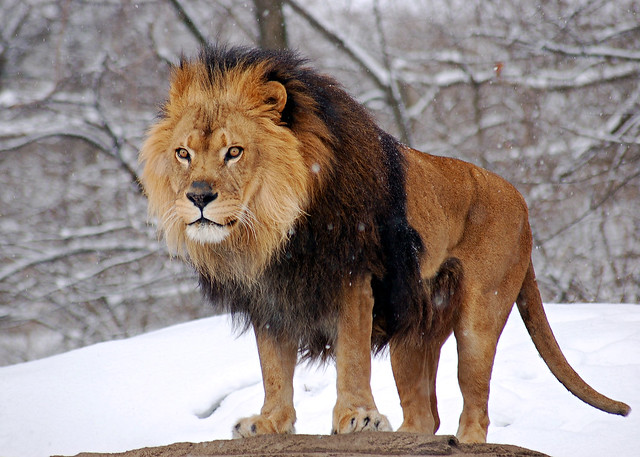
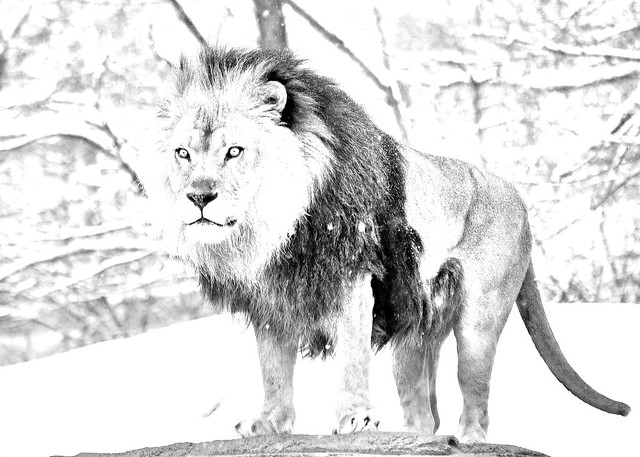
My example:
Before:
After:

Add a comment